Your iPhone camera is “great”—so why do your photos still miss?
You pull out your iPhone, tap the shutter, and the moment is gone. Later you see what went wrong: a soft face, a dim room, a bright window that turned into a white hole, or a plate of food that looks flatter than it did in real life.
The camera is strong, but it makes fast guesses—what to focus on, how bright to make the scene, whether to keep the shutter open longer. Small choices you don’t notice can push it the wrong way. Tap the wrong spot and the exposure shifts. Move a little in low light and sharpness drops.
The fix usually isn’t “pro settings.” It’s learning a few quick decisions before you shoot—starting with whether you want the frame to feel straight and intentional.
Before you tap the shutter: do you want this shot to feel straight and intentional?
That “straight and intentional” feeling usually comes down to two seconds of setup: leveling the frame and choosing what the camera should prioritize. In a hallway, at a dinner table, or in front of a landmark, the phone often tilts a few degrees without you noticing. The result looks casual even if the moment wasn’t.
Turn on the grid (Settings > Camera > Grid), then use the lines to level horizons and keep door frames from leaning. If you see a yellow cross appear, you’re close to level—pause and steady. Now pick your anchor: tap the main subject (a face, the plated food, the sign). If the brightness jumps, press and hold to lock focus and exposure (AE/AF Lock), then slide your finger up or down to fine-tune. The trade-off: locking can keep the subject right, but backgrounds may blow out.
Once the frame feels “set,” sharpness becomes the next make-or-break.
When the photo is blurry, is it your hands—or your subject moving?
Sharpness usually fails in two familiar moments: you’re indoors and the phone “takes a beat,” or you’re shooting kids, pets, or a passing waiter and they never stop moving. Those are different problems, and the fix changes depending on what’s actually moving.
To check for hand shake, look for smear across the whole frame—background, edges, everything. Steady your stance, tuck your elbows in, and use the volume button (or a wired EarPods clicker) so you’re not jabbing the screen. If it’s dim, don’t “zoom in” with your fingers; it forces the camera to work harder and blur shows up faster. The trade-off is you may need to step closer, which can change faces and perspective.
If only the subject is blurry, you need a faster capture. Add light (turn toward a lamp, move closer to a window, or use Flash for nearby faces), and shoot in short bursts so you can pick the sharp frame later. When the light drops, every other choice starts to revolve around it.
It’s too dark: should you trust Night mode, add Flash, or just brighten it?
When the light drops, it’s tempting to just drag the exposure up and hope. That usually lifts everything—including noise—and the photo can look grainy and smeared, especially on faces. A better first move is deciding whether the scene can stay still for a second.
If your subject is mostly still (city streets at night, a room after everyone sits), trust Night mode. Keep the phone steady, brace on a table or wall, and let the capture finish—don’t lower the phone early. If people are moving, Night mode often turns motion into soft edges, so treat it like a “still scene” tool.
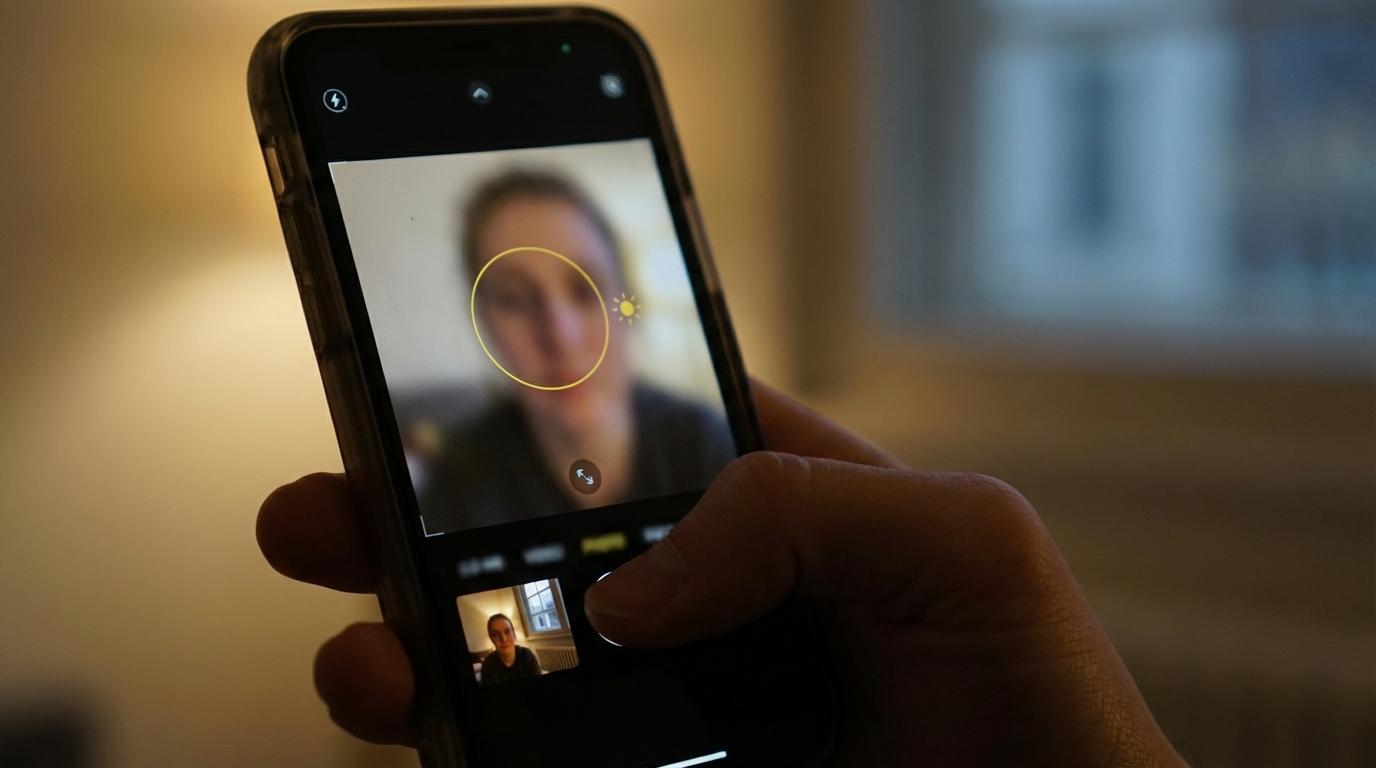
For nearby faces in a dim restaurant or at a party, Flash can beat Night mode because it freezes motion. The trade-off is harsher light and shiny skin, so step back a bit, avoid mirrors, and watch for bright foreheads. If Flash feels too strong, turn it off and use a small exposure lift after tapping the face—just enough to see eyes without blowing out the background. Next comes the harder case: bright windows and blown-out skies.
Bright window, sunset, or blown-out sky: what should you expose for right now?
Bright windows and sunsets usually break photos the same way: the iPhone tries to save the whole scene, so it lifts the shadows and the highlights blow out. You end up with a white window, a pale sky, and a subject that still doesn’t look great. The fix is picking what matters right now, then telling the camera clearly.
If you’re shooting a person in front of a window, expose for the face. Tap the face, then press and hold to lock (AE/AF Lock). If the face still looks dark, slide your finger up a little—small moves. Accept the trade-off: the window may go pure white. If you actually care about what’s outside, step closer to the window so your subject gets brighter, or turn them so the window is off to the side, not directly behind.
If you’re shooting the sky (sunset, skyline, clouds), expose for the bright part. Tap the sky and drag exposure down until you see color again. The consequence: anything in shadow will go nearly black, so use silhouettes on purpose and keep shapes clean. When the exposure choice is made, close detail becomes the next trap.
People, food, close-ups: do you want background blur—or true close detail?
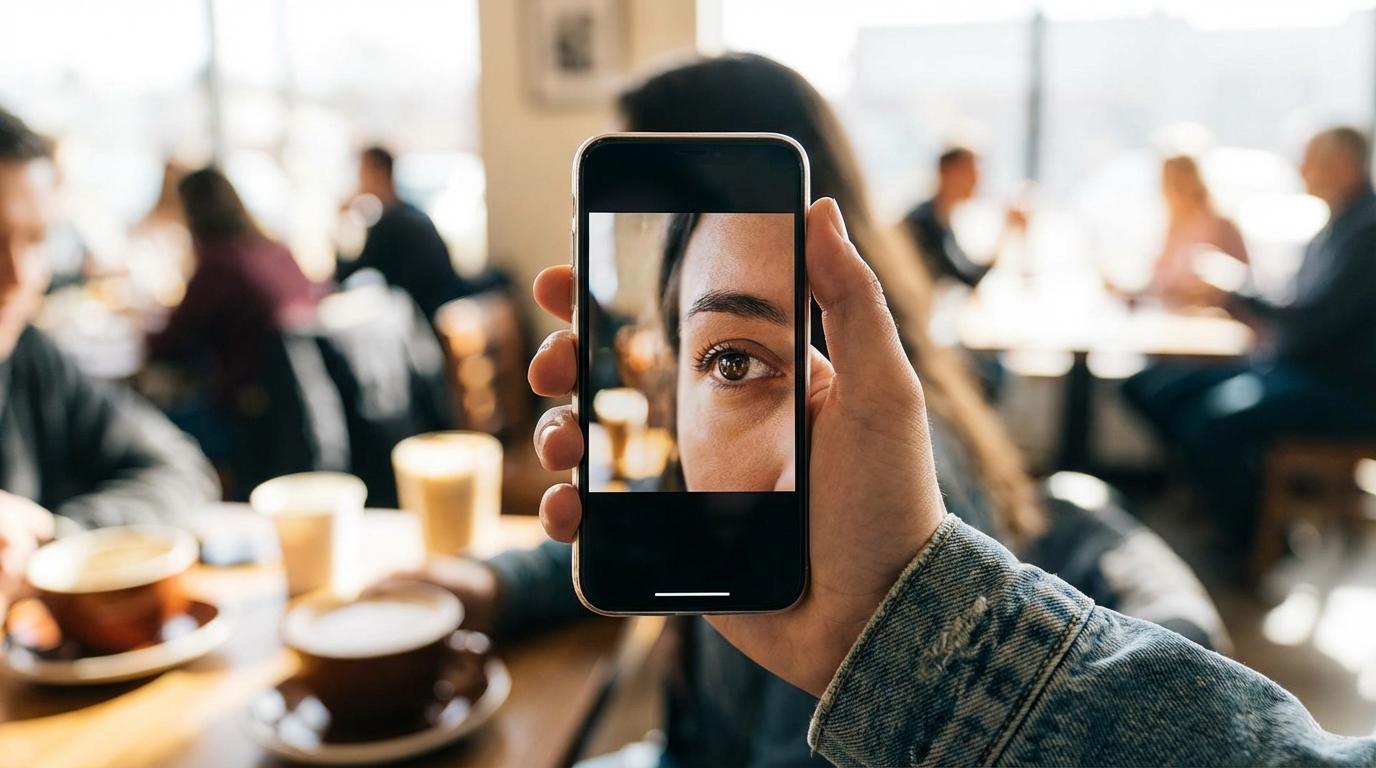
Close shots often disappoint in one of two ways: the background gets messy when you wanted it soft, or the food/detail never looks truly crisp because you weren’t actually close enough for focus. Start by deciding which result you want, because the camera behaves differently.
For a person, tap their eye and use Portrait mode when you have a clean subject-to-background gap (a few feet helps). If the blur looks wrong—glasses edges, hair, a hand—switch back to Photo and step back slightly; Portrait can guess the cutout poorly in low light or clutter. For food or small objects, Portrait isn’t the goal. Get close in Photo, tap the detail you care about (the front edge of the dish), and don’t use pinch-zoom.
If you see the flower icon, you’re in Macro. Use it for true texture (labels, stitches, crumbs), but steady your hands—Macro exaggerates tiny movement and can darken the scene. A quick routine makes these calls automatic.
A 10-second camera routine you can run anywhere
When you see the flower icon and your shot suddenly feels jumpy or darker, that’s your cue to slow down and run a quick routine instead of fighting the camera. It takes about 10 seconds, and it works the same at a table, on a sidewalk, or in a hotel room.
1) Wipe the lens. 2) Decide: person, sky, or detail. 3) Tap that anchor, then press-and-hold for AE/AF Lock if the light is tricky. 4) Make one exposure move: up for eyes, down for sky color. 5) Check motion: if the subject moves, add light or use Flash; if the scene holds still, let Night mode finish. 6) Step closer instead of pinch-zooming; use Macro only if you truly need texture.
The trade-off is speed: you’ll miss a few “spray and pray” moments, but you’ll keep more shots you actually want to share.