Two minutes before the call: what you’re actually trying to confirm
You’re about to click “Join,” and the real fear isn’t “will Zoom work?” It’s joining and realizing, in front of everyone, that your camera is the wrong one, your mic is muted, or the app can’t access either.
Two minutes out, you’re trying to confirm three things: (1) the computer can see a live camera image, (2) the computer is hearing sound through the mic you intend to use, and (3) the meeting app or browser is allowed to use both. If any one of those fails, you can look “connected” while still being invisible or silent.
One trade-off: quick fixes can create new problems. Switching from AirPods to a laptop mic might restore audio fast, but it can add echo or pick up keyboard noise. The goal is “works predictably,” not “perfect.”
Do a 30-second hardware reality check (before you open any app)
“Works predictably” starts with the boring stuff: make sure the hardware is physically able to work before any app gets a vote. Flip open the laptop enough to wake the camera, and glance for a tiny camera light or shutter switch. On some laptops there’s a slider by the lens; on others it’s a keyboard key (often with a camera icon) that can cut video even though the app looks fine.
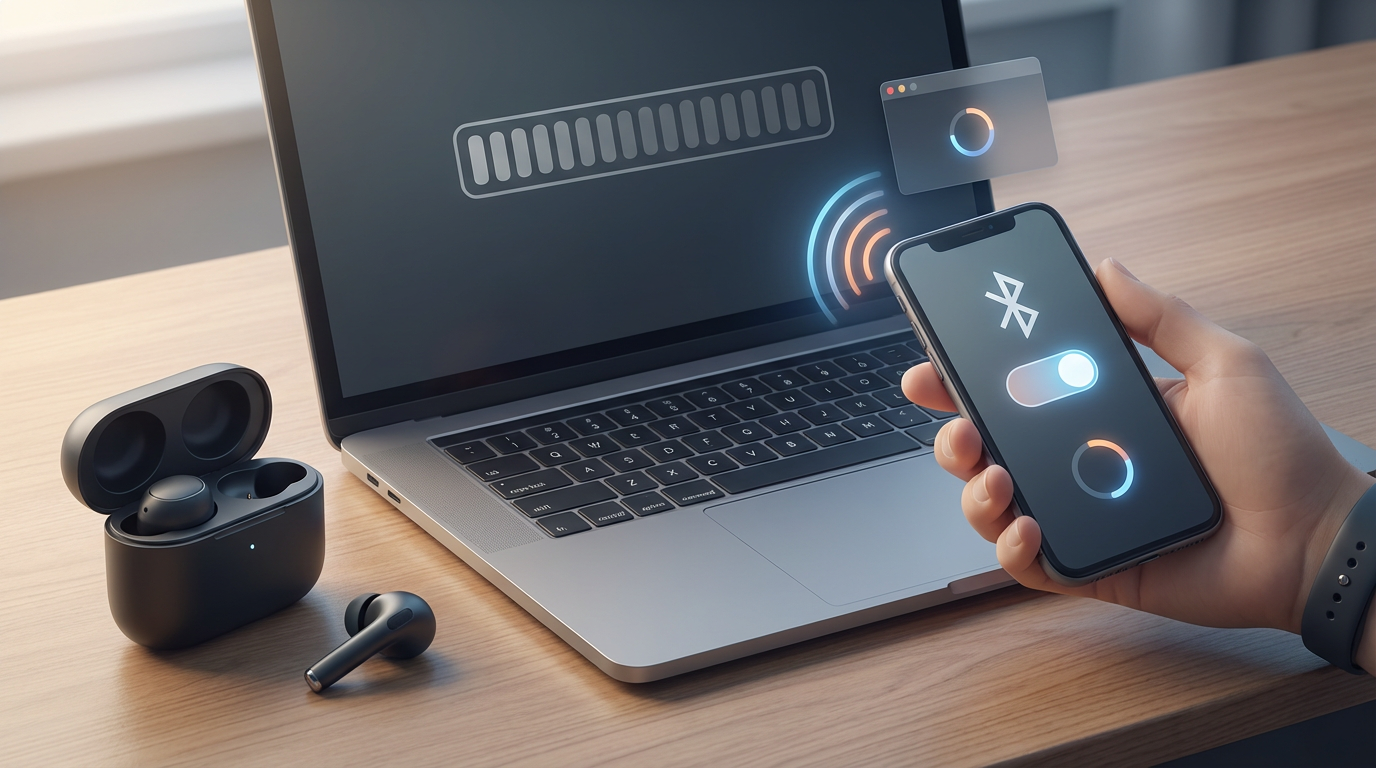
Do the same for audio. If you’re using a headset, reseat the plug or dongle, then check for an inline mute switch and a volume wheel—those override everything. If it’s Bluetooth, confirm it’s actually connected (not just “paired”) and that the battery isn’t low. Quick consequence: reconnecting Bluetooth can change which mic the computer uses, so you want that to happen now, not mid-call.
Once the physical checks are clean, you’re ready to confirm which exact camera and mic the computer is selecting.
Which camera and mic is your computer really using right now?
That “exact camera and mic” part is where people get burned: the computer often switches devices quietly, especially after you plug in a USB headset, reconnect Bluetooth, or dock a laptop.
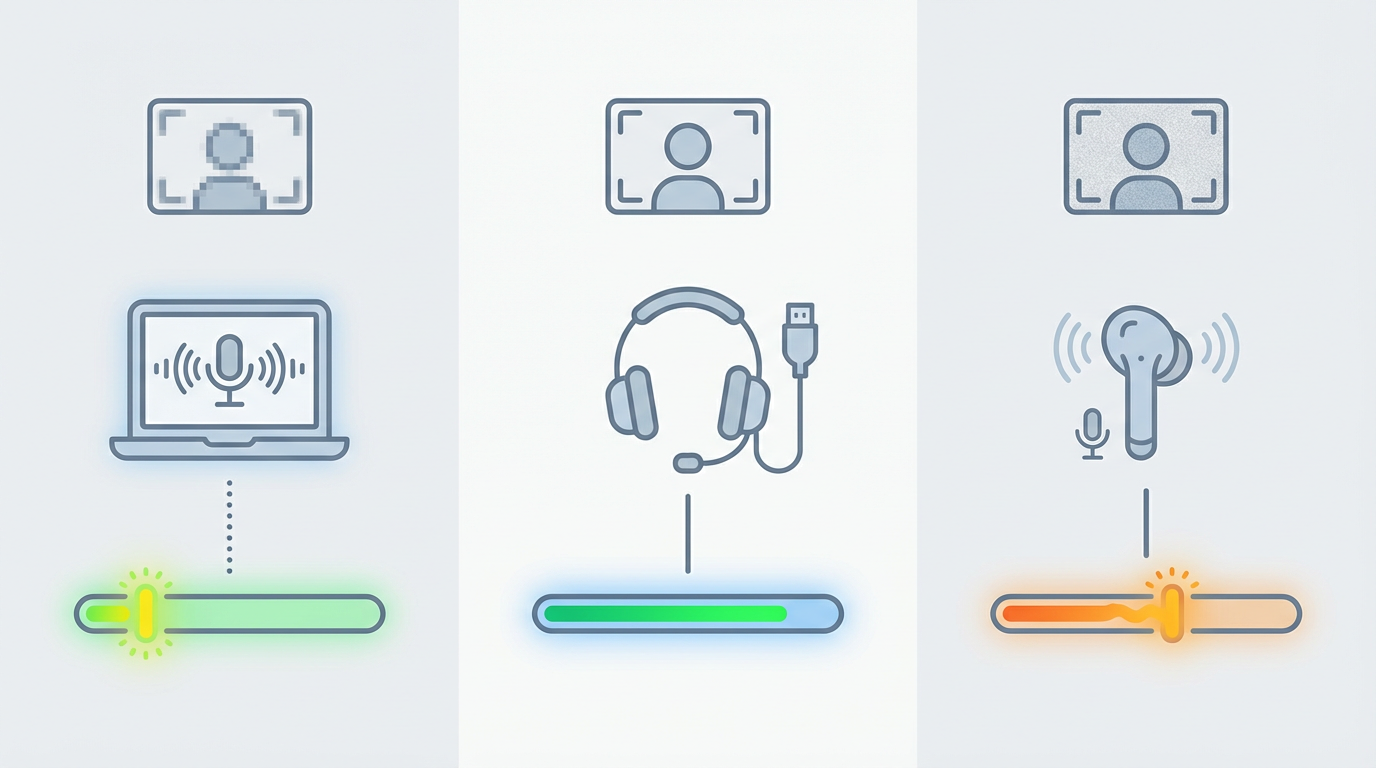
On Windows, open Settings → System → Sound. Under Input, speak and watch the input meter move on the device you expect; if the meter moves on something like “Microphone Array,” you’re on the laptop mic, not your headset. For video, open the built-in Camera app and make sure the preview matches the camera you plan to use.
On Mac, go to System Settings → Sound → Input and confirm the input level responds. Then open Photo Booth (or FaceTime) to confirm the camera feed. Friction to expect: some USB headsets expose two “mics” with similar names—pick one, test, and don’t touch it again unless you have to.
When permissions are the problem: the prompts you might have missed
That “don’t touch it again” advice breaks down when the device is fine, but the app simply isn’t allowed to use it. This usually shows up as a black preview, a frozen image, or a mic meter that never moves—even though the Camera/Photo Booth test worked.
On a Mac, open System Settings → Privacy & Security → Camera and Microphone, then make sure your meeting app (Zoom/Teams) is enabled. If you’re joining in a browser, you’re granting access to the browser (Safari/Chrome/Edge), not the meeting site, so check the browser entries too. On Windows, go to Settings → Privacy & security → Camera / Microphone, turn on access for the device, then confirm access is allowed for the specific app.
The friction: permission prompts are easy to dismiss on autopilot, and “Block” can stick. If you changed it, fully quit the app or refresh the tab—many apps won’t pick up the new permission mid-session. With permissions confirmed, you can do a fast in-app test without risking a noisy join.
A fast in-app test without joining the meeting (Zoom/Teams/Google Meet)
That “refresh the tab” moment is also your cue to run the quickest test inside the tool you’ll actually use, before you show up live. You’re looking for two signals: a camera preview that’s clearly from the right lens, and a mic indicator that reacts when you speak at a normal volume.
In Zoom, open Settings → Video to confirm the preview, then Audio and use Test Mic (and Test Speaker if you can). In Teams (desktop), go to Settings → Devices and watch the mic level move; in a browser, use the Device settings panel on the pre-join screen. In Google Meet, use the pre-join Settings (gear icon) to pick the camera/mic and watch the mic meter.
Trade-off: these tests can pass while the meeting still fails if another app grabs the mic (or a Bluetooth headset flips profiles). If the meter is dead here, fix it now—don’t “join and see.”
You can see yourself, but audio is failing (or the reverse)
That “meter is dead” moment often comes with a twist: you can see a clean video preview, but nobody can hear you, or you can hear everyone while your camera stays black. When only one side fails, don’t restart everything yet—treat it like a wrong-device or mute problem until proven otherwise.
If video works but audio doesn’t, check three fast blockers: (1) a hardware mute (inline switch on a headset, or a laptop mic-mute key), (2) the app’s mic icon is muted, and (3) the selected mic quietly changed (AirPods/BT headsets are common). Switch the input to a simple fallback like “Built-in Microphone,” speak, and confirm the mic meter moves. If it does, your headset mic is the issue, not the app.
If audio works but video doesn’t, look for a camera shutter/kill key, then switch cameras in the app (built-in vs. external). If the preview stays black, quit any app that might be using the camera (Teams, Zoom, FaceTime), then reopen the meeting app.
The “it worked yesterday” trap: app conflicts, stale connections, and browser quirks
Quitting the other apps is where the “it worked yesterday” trap shows up: nothing changed in your settings, but something else is still holding the camera or mic. The fastest fix is often to fully quit the usual suspects—Zoom, Teams, Slack, Discord, OBS, browser tabs with Meet—then reopen only the one you’ll use. On Windows, check Task Manager for lingering processes; on Mac, use Force Quit if the app won’t really close.
Another common cause is a stale audio route, especially with Bluetooth. If your headset shows “connected” but the mic meter stays dead, toggle Bluetooth off/on, or disconnect/reconnect the device so the computer renegotiates the profile. Trade-off: reconnecting can flip your input back to the laptop mic, so re-check the selected device after it comes back.
In a browser, quirks stack fast: an old Meet tab can keep permissions, extensions can block access, and Safari/Chrome can cache a “Block” decision. If the pre-join meters don’t move, try an incognito/private window or a different browser you already trust, then you’ll know whether it’s the site or the setup.
If it still won’t cooperate: a backup plan you can execute in 60 seconds
If the pre-join preview or mic meter still won’t move, stop chasing the “perfect fix” and switch to a sure path. Kill the call app and your browser completely, then pick one fallback: join from your phone using the meeting link (best), or join on the computer with a plain wired option (built-in mic + speakers, or a basic USB headset).
On the phone, join with audio immediately, then decide whether to turn video on. If you must stay on the computer, switch the meeting to “Call in” or “Use phone audio” and keep speaking while you troubleshoot after the first agenda item. The trade-off is less polish, but you stay present.